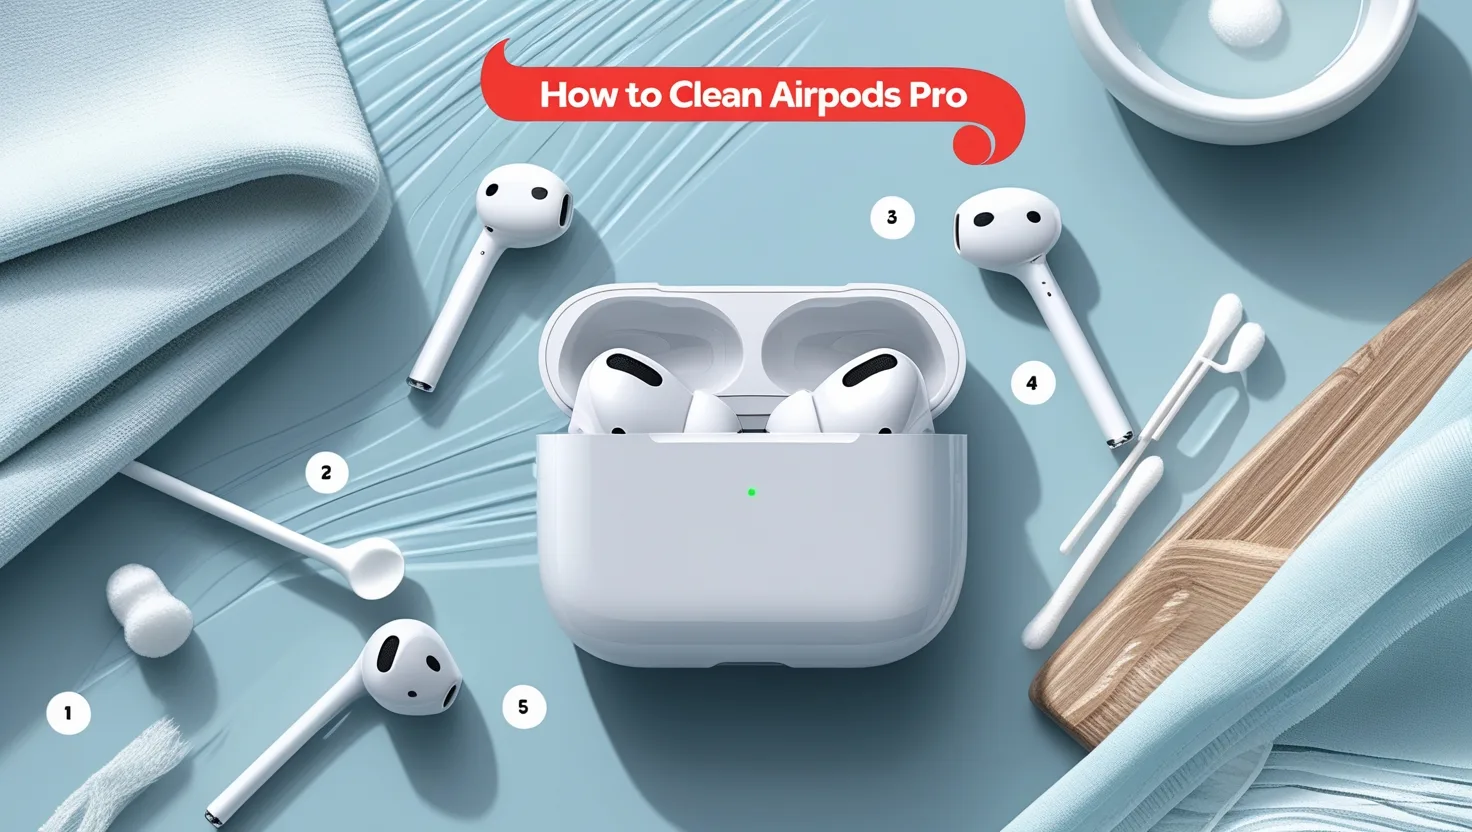
Today, I’ll show you how to clean AirPods Pro like a professional, take dirty AirPods Pro, and make them look brand new. This method works for every generation of Apple AirPods.
How to Clean AirPods Pro
Supplies Needed
To clean AirPods Pro, you’ll need a few supplies:
- Cotton swabs
- 70% isopropyl alcohol wipes
- A cleaning brush with a wire loop
- A dry, lint-free microfiber cloth
Three Areas to Focus On
When cleaning AirPods Pro, focus on three areas:
- The ear tip
- The AirPods Pro body
- The case
Five Rules to Follow (As Recommended by Apple)
Before we start, let’s cover five rules to follow as recommended by Apple:
- Use 70% isopropyl alcohol wipes or Clorox disinfecting wipes to clean the exterior surface of the AirPods Pro.
- Don’t use wipes on the speaker mesh.
- Don’t use bleach for cleaning.
- Don’t get moisture in any AirPods openings.
- Don’t submerge the AirPods Pro into any cleaning agents.
Cleaning the Ear Tips
One of the dirtiest parts of the AirPods is the ear tips, which are due to wax buildup. Do you have problems with wax buildup inside your AirPods? If so, hit the like button, and let’s eliminate that wax!
Step 1: Remove Excess Wax and Moisture
First, gently tap the AirPods onto your cloth with the ear tips down to remove any excess moisture or earwax.
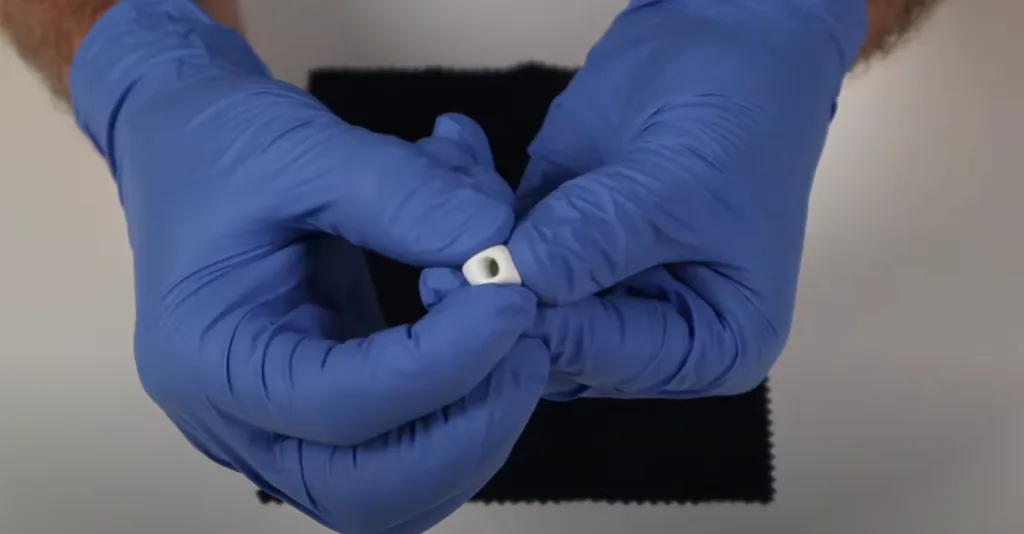
Step 2: Remove the Ear Tips
You can remove the ear tips by gently pulling them off the AirPods Pro. Check each ear tip to see if they’re clear of earwax. If there’s no earwax, you can clean the inside of the ear tip with a dry cotton swab.
Step 3: Remove Earwax
If you see earwax inside the ear tip, I recommend cleaning it using a brush with a small wire loop like this. This tool is designed to clean hearing aids. I’ll link this brush with a wire loop in the description below.
Carefully pull out the wax with the wire loop so the plastic ear tip is not damaged. Removing the earwax with this wire loop prevents the plastic screen inside the ear tip from getting clogged with wax.
A clogged screen is more difficult to clean, but if it does get dirty, you can try brushing it to clear the wax.
Step 4: Rinse the Ear Tips
Now that the ear tips are clean of earwax, you can rinse them with water—do not use soap or other cleaners, just water. Only rinse the ear tips once they’re completely disconnected from the rest of the AirPods Pro. After rinsing, wipe them off with your cloth and let them sit to dry out.
Cleaning the AirPods Pro Body
While the ear tips dry, let’s move on to cleaning the rest of the AirPods Pro.
Step 1: Wipe the AirPods Pro
You want to regularly wipe off the AirPods Pro with your cloth after using them, especially if they’re exposed to sweat, lotion, or any moisture. AirPods Pro are water-resistant but not waterproof, so please ensure you do not submerge them in water at any time.
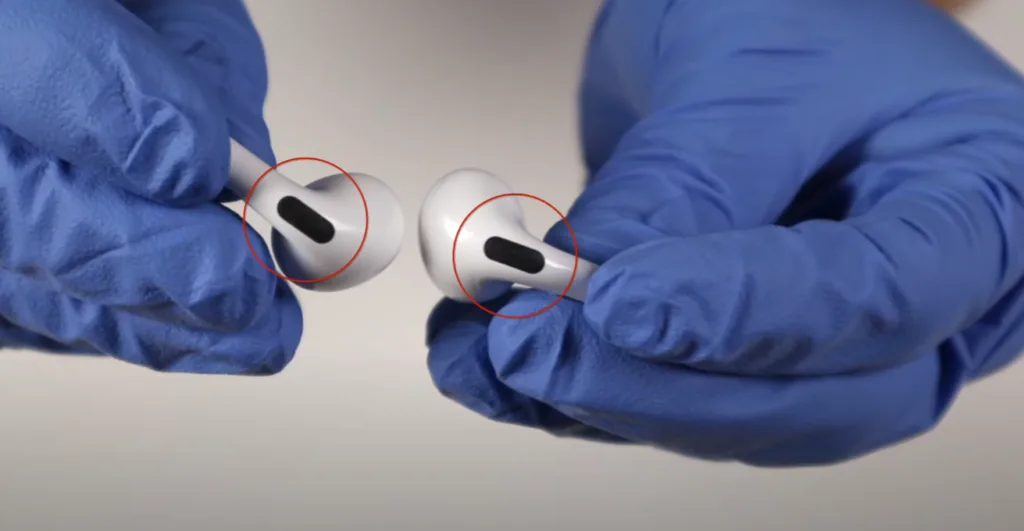
Step 2: Clean the Wire Mesh
Start with the wire mesh, which covers the active noise cancellation and transparency mode microphones. Clean off the wire mesh with a dry cotton swab. If the mesh is still dirty or clogged, you can gently brush it.
Step 3: Clean the AirPods Pro Body
Use your alcohol wipes and cotton swab to clean the AirPods Pro body. It’s easier to use the alcohol wipe to wet the cotton swab for cleaning. Do not use any cleaning wipes on the speaker mesh.
Avoid exposure to any liquids in the wire mesh or speaker mesh areas. I’m only wiping down the white areas on the AirPods Pro.
Cleaning the AirPods Pro Case
Now, let’s look at the AirPods Pro case.
Step 1: Wipe the Case
First, wipe it off with your cloth and a dry cotton swab.
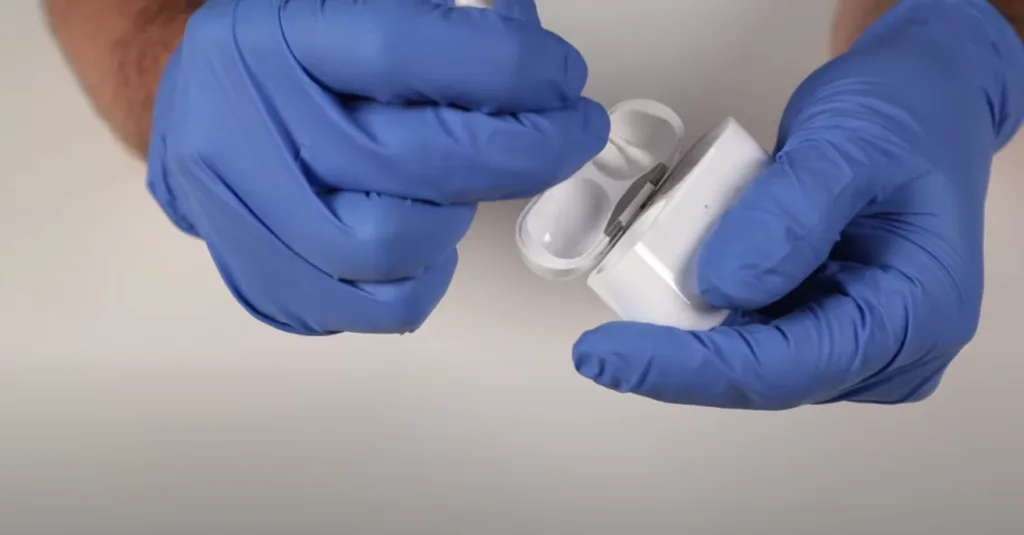
Step 2: Clean the Case with Alcohol Wipes
Next, clean the case with another cotton swab that’s been dampened with an alcohol wipe. Focus on cleaning the part that directly interacts with the AirPods Pro earbuds.
Do not get any moisture inside the case, especially near the charging ports. Only use the cotton swab to clean the top portion of the case where the ear tips rest. You can also gently brush off the lightning port with a clean brush if you see any dirt or buildup.
Reassembling the AirPods Pro
Once the case is clean, you can move on to the last step: reassembling the AirPods Pro.
Step 1: Dry the Ear Tips
Look inside the ear tips to ensure they’re scorched. Wipe the ear tips inside with a dry cotton swab to ensure they’re scorched.
Step 2: Attach the Ear Tips
Now, push them back onto the AirPods Pro. Make sure to align them correctly and go until you hear the ear tips click back into place.
Step 3: Place Back into the Case
Finally, put them back into the clean case. That’s it! You’ve professionally cleaned your AirPods Pro.
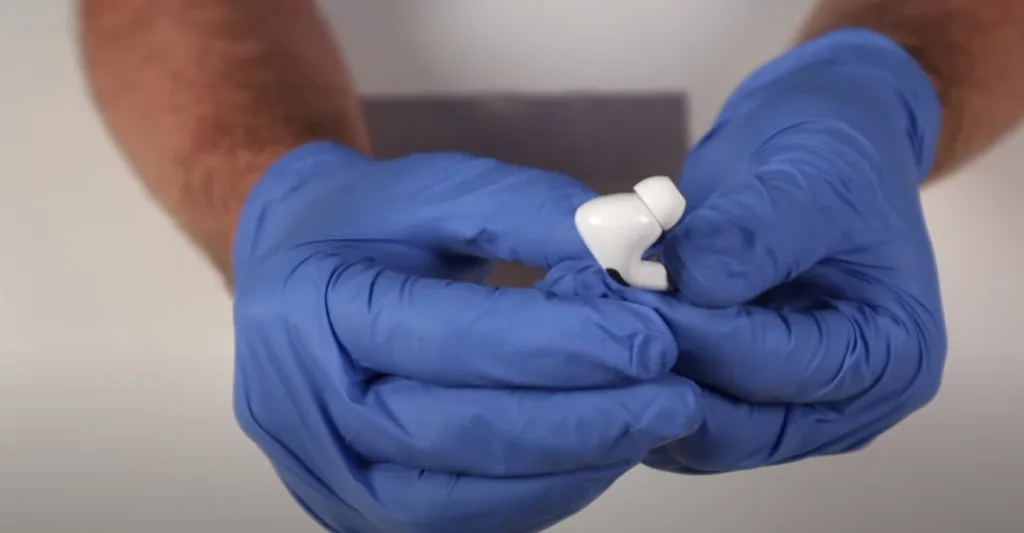
Bonus Tip: The Sucking Technique
Another tip I want to give you: if you’re having trouble hearing audio out of one of your AirPods, and the audio is lower or muffled compared to the other, one thing you could try is sucking on the AirPod. I’m not kidding. You can suck on the AirPod—make sure it’s clean first, preferably with alcohol, before you put it in your mouth.
Take the head of the AirPod itself and suck it in with your mouth. I’ve read that this technique has solved many audio issues with AirPods. If you’re still having problems after cleaning, definitely try sucking on the head of the AirPod. This should fix your audio issues.
Related: Make Your AirPods Louder!
Final Test
I tested the AirPods after cleaning and didn’t notice a difference initially. But after trying the sucking technique, it worked! So, I can recommend it.
If you’re having audio issues, clean your AirPods first to ensure that’s not the cause. Then, if needed, try the sucking technique on the AirPod, giving you trouble.
Conclusion
This guide helps you clean your AirPods and restore their sound quality! If this helped you out, make sure to leave a comment below. Also, subscribe to our newsletter so you don’t miss future AirPods, iPhones, and other tech tutorials.


[…] Related: How to Clean Airpods […]
[…] Related: How to Clean Airpods […]